Author: R.S. Weigel
Date: 05/01/2006
Note: Prepared after the 2005 NCAR Summer school. Not field tested.
Keywords and Acronyms:
Field: The primary OpenDX data structure. A valid field has at least three components including "data", "connections", and "positions". Other OpenDX data structures include lists, vectors, matrices, and strings.
Online References:
See
Import and
Export chapter from OpenDX manual
In this section we show how to import and export data in OpenDX. First a single column ASCII data file is read. Next, a multi-row and multi-column data file is read. Finally, data is output in various forms.
Start CISM_DX with OpenDX extensions using /usr/local/CISM_DX/cismdx_opendx. From the top menu bar, select File, Open Program, type /usr/local/CISM_DX/Labs/2005_AFWA_ShortCourse/IntroToOpenDX/*.net in the Filter section, and double click the file OpenDXIO.net. (If you do not want to type this path, enter /*.net in the Filter section and use the mouse to find the directory)
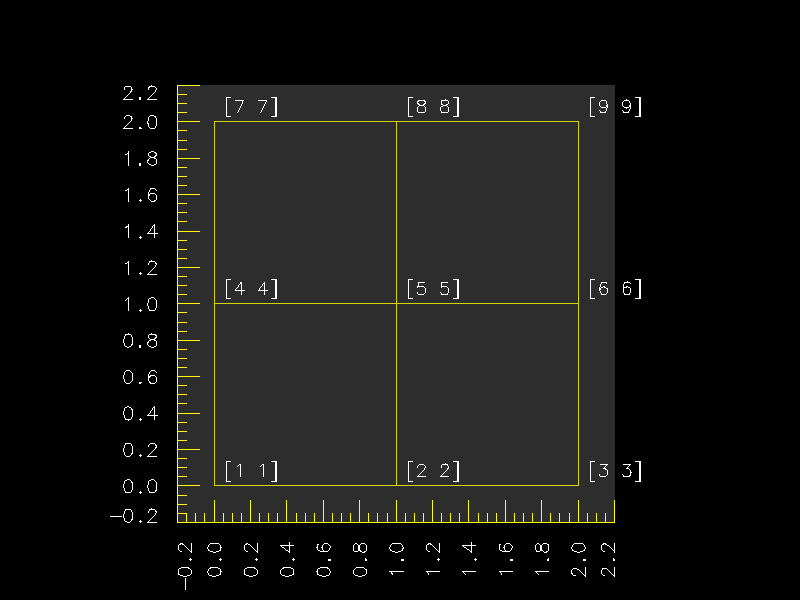
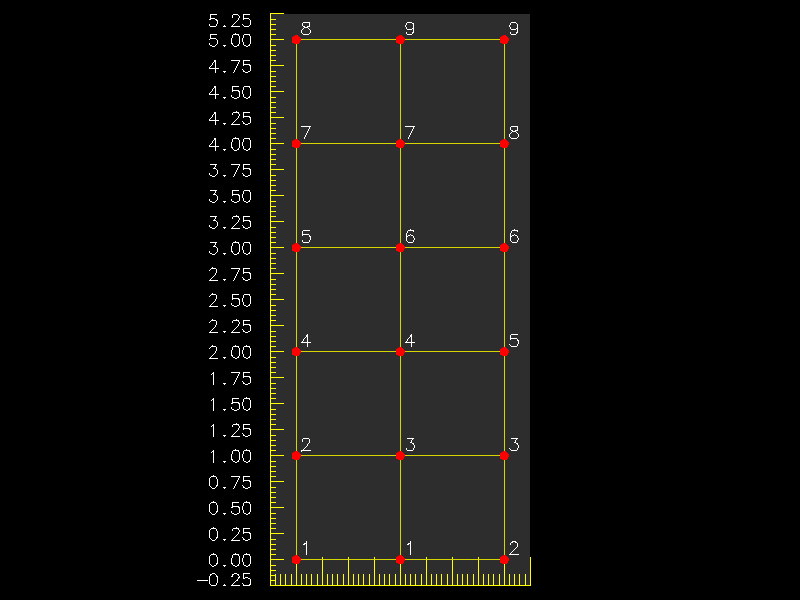
file = OpenDXIO.dat
grid = 3 x 3
structure = 2-vector

end
The "grid" line tells Import how many grid points there are. In this case we have specified that there are 2 measurements per grid point. The "strucutre" line indicates how many measurements are located at each grid point. If we changed "structure" to 1-vector, only the numbers 1-9 are read in. The "majority" line indicates that the file is to be read column-by-column. To verify this, change "structure" to 1-vector and "majority" to "column" and execute the network.
Explore:
Test your understanding:;IDL code for creating plain text data files for import into OpenDX data=rebin(indgen(10)+1,10,2) data=transpose([data,data]) OPENW,lu_data,'data.dat',/get_lun for i=0,19 do begin print,lu_data,data(0,i),data(0,i) endfor free_lun,lu_data
Explore:
Explore: